Vibe Printing Garden Supplies With AI
Last time I 3D printed something, it was a replacement part for my Toto Bidet toilet seat. Since it was such a weird looking part, I just did it manually in Tinkercad.
Yesterday, I was setting up my custom-built automatic irrigation system into my garden. I was installing some 1/2 inch irrigation tubing when I noticed that it was kind of hard to get it to sit in the garden bed without getting in the way of the plants. Here's a preview of the system, btw, if you are interested:
Anyway, I thought it might be better to clip the irrigation tube to the side of the metal raised bed somehow. I looked online and didn't see any clips being sold, so I thought I would try to 3D print one myself, since that would be way cheaper and faster than buying one online, anyway. This time I enlisted the help of AI.
Setting up CadQuery
I've previously tried making 3D models for printing using OpenSCAD, but at the time, LLMs weren't that great yet. I did some research to see if there were any other programs that were better for doing code-based design, and came across CadQuery.
CadQuery is a Python library for making parametric 3D CAD models. The nice thing about Python is that LLMs have been trained to use it as the default language for almost everything. OpenSCAD, on the other hand, uses its own DSL (not that kind!) that LLMs have probably hardly ever seen. So maybe that's why I had a hard time getting ChatGPT to spit out some models for me back when I tried it a few years ago.
I used the new Gemini 3.5 Flash model in Antigravity to set up an environment for CadQuery. I was trying to get an extension that lets you view the models in VS Code (or Antigravity) as well, but the extension kept running into errors. Antigravity just installed the viewer separately and I could pull it up in a web browser running on a local server.
Prompting the irrigation clip

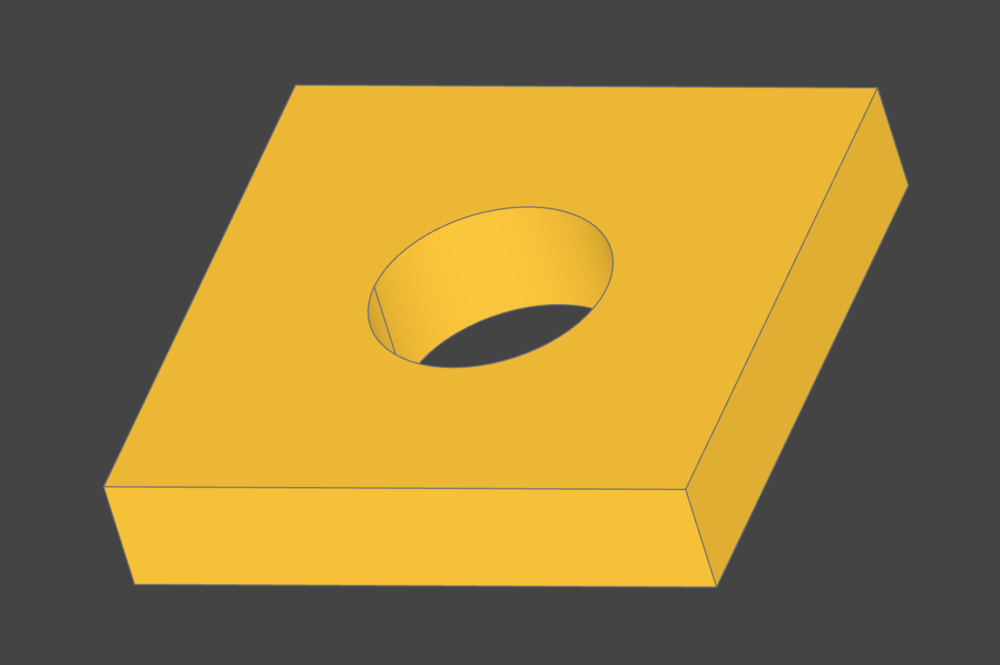
I drew up a quick picture of what I thought the clip should look like, with it hanging off of the side of the garden bed, and a sort of hook that would clip the tube securely. I also wrote down the dimensions of the hose and I guessed at how thick the edge of the raised bed was. Gemini 3.5 Flash took a look at my scribble and decided that it needed a redesign, apparently. It rounded the corners and also made the part that clipped into the bed independent of the hook part. This probably ended up making the part more secure.
An interesting part of the design is that the different parts are parameterized, so if I wanted to make a new part that supported tubes with a slightly larger outer diameter, I could just adjust that value instead of rewriting all of the code. I'm all about hardcoding stuff in, but I guess this is probably a better way to do things, and it seems pretty standard in CAD.
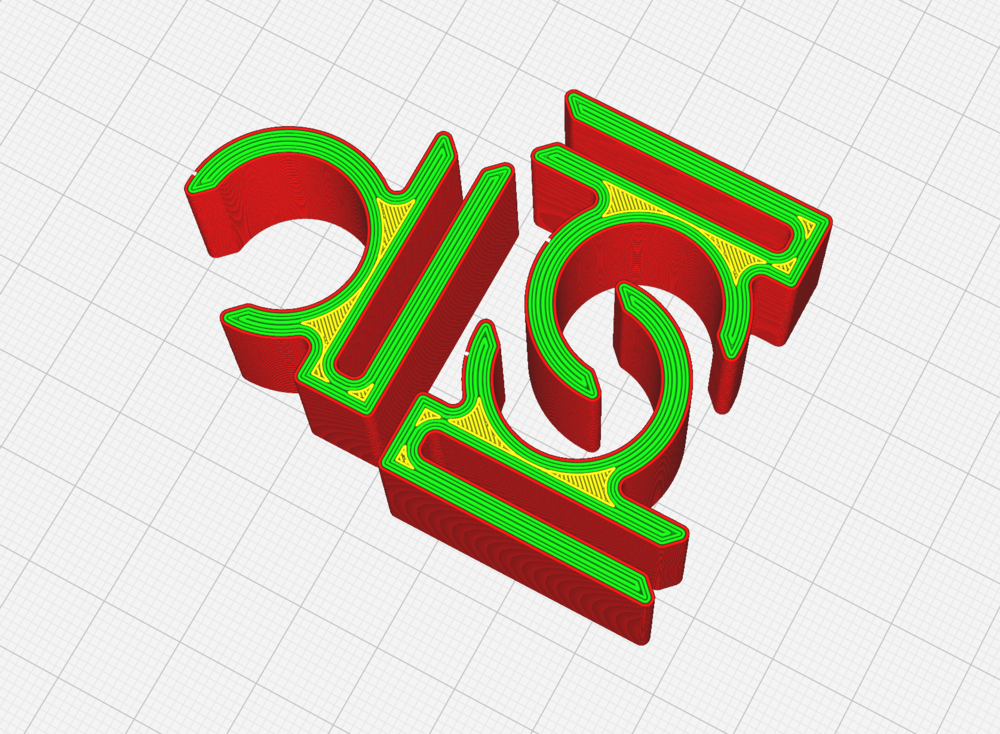
The amazing thing to me is that Gemini basically one-shotted the design in a turn or two. Before I had a chance to even look at something else on my computer, the design popped up on my screen. I printed out a copy and, to my amazement, it actually fit the tubing and the garden bed really well! There's something kinda cool about prompting an LLM and having that output make it into an actual physical form.
The Finished Product
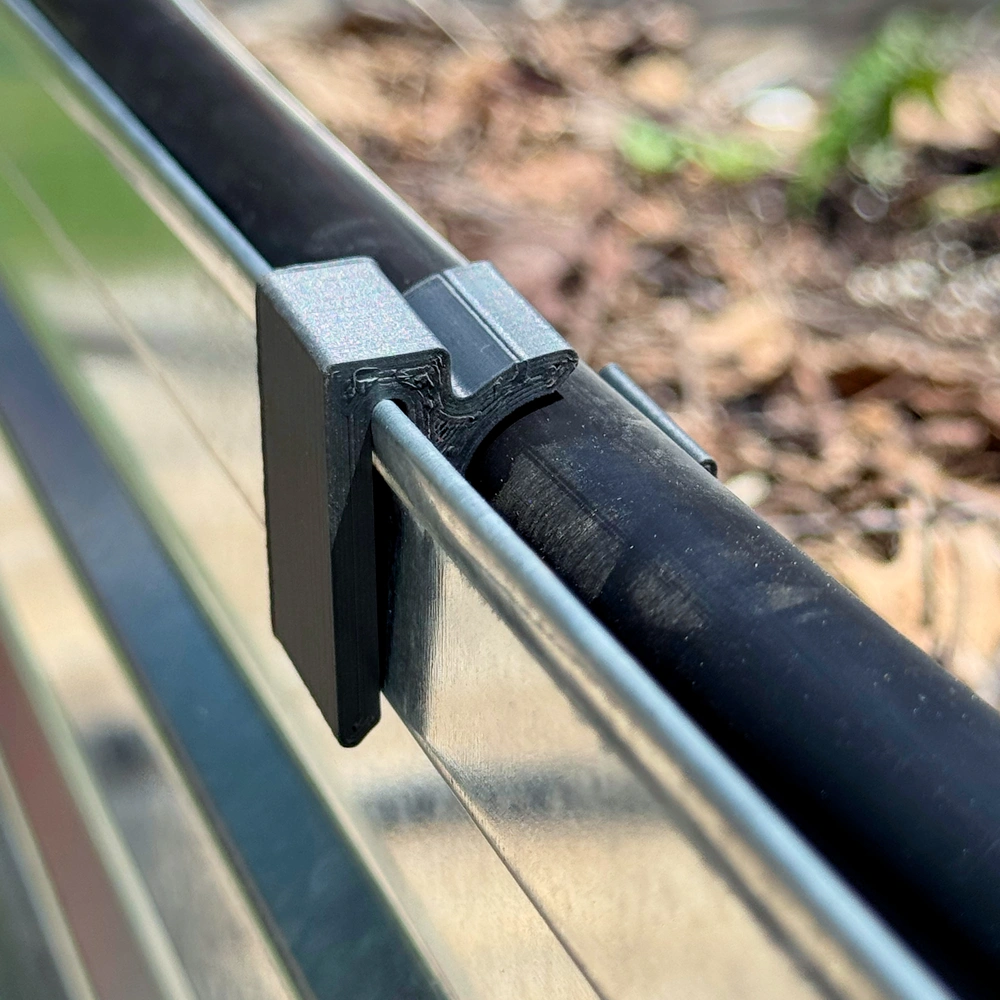
Here's what the final 3D printed part looks like in the garden. I'm pretty happy with how it turned out, and I'm glad I didn't have to go buy some junk from Amazon just to organize my irrigation system. I've been buying a lot of stuff to get this watering system running, so I should probably think of more cases where I could 3D print things instead of ordering them from Amazon!
Oh, and if you made it this far and want a clip for your garden, you can download the STL file here!
Leave a Comment
Comments are moderated and won't appear immediately after submission.